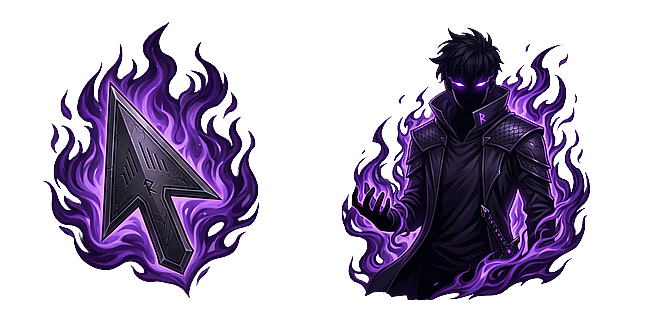
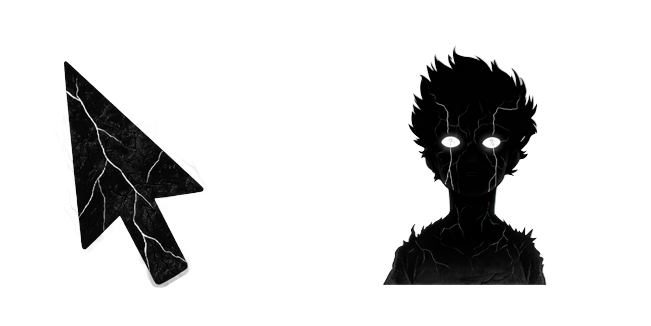
Many of our designs come with Roblox-ready cursor files, so you can carry your favorite look into the game. There are two common ways to use a custom cursor with Roblox, depending on whether you are a player who wants to change your own cursor or a developer setting the cursor inside an experience.
For players: replace the cursor image
Roblox draws its in-game cursor from a set of image files stored in its installation folder. You can swap those images for a Neon Cursor design:
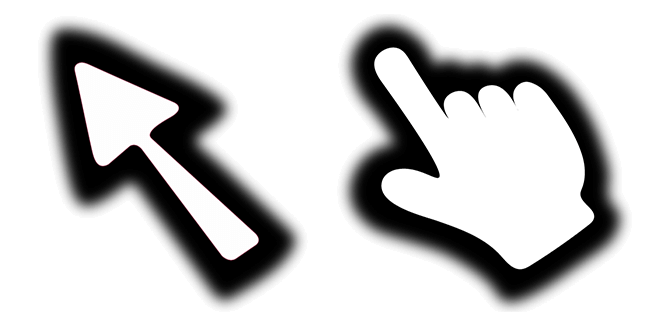
- On a cursor's page, download the Roblox cursor and Roblox pointer PNG files from the download menu.
- Locate the Roblox textures folder on your computer. On Windows this is typically inside the Roblox Versions folder, in a content\textures\Cursors\KeyboardMouse subfolder.
- Back up the original files first by copying them somewhere safe.
- Replace the existing cursor images with the downloaded PNGs, keeping the same file names.
- Launch Roblox to see your new cursor in game.
Because Roblox updates can reset these files, you may need to reapply the images after an update. This method changes the cursor only for you, on your own device, and is done at your discretion — always keep a backup of the originals.
For developers: set the cursor in your experience
If you are building a Roblox experience, you can set the mouse icon in a LocalScript so every player sees a custom cursor. Upload your image as a decal to get its asset ID, then assign it — for example through the player's mouse Icon property or UserInputService.MouseIcon. This keeps the change contained to your game and survives Roblox updates.
Which files do I need?
Nearly every design includes them: open any cursor and check the download menu for the Roblox cursor and Roblox pointer options. Curious about the difference between the arrow and the clicking hand? Read Cursor vs Pointer.
Want a custom cursor for browsing instead? See How to Change Your Mouse Cursor in Chrome.